Archlinux liveboot
Introduction to liveboot
Requirements
- A USB drive 8gb+ (preferably with usb 3.0 transfer speeds)
- Host machine with rufus installed
Installing Rufus and Arch ISO
Arch iso
- Visit here
- Download the iso via BitTorrent to ensure maximum speed and help to seed to others
Rufus
- Visit here, windows only. Or for linux machines you can use balena etcher.
- Use the following setup in Rufus
- Device: USB Stick
- Boot selection: Your arch iso
- Persistent partition size: 0gb (we’ll set the persistent storage from the arch window)
- Partition scheme: MBR, we’re targeting maximum number of systems with both BIOS and UEFI compatiblity.
- Keep the rest of the settings as it is
Booting into the USB
- Hold the boot key or the BIOS/UEFI key (could be F2, F8 or F10, check your motherboard manufacturer), in case of my Asus it was F2.
- Depending on the BIOS/UEFI software, you either need to change the boot order or boot into the USB drive
- After selecting it wait till you see a terminal
Initial arch setup
- After booting into the arch terminal, wifi may not work which is essential for the intial setup, for this check iwctl.
- Ethernet will work out of the box and so does USB thethering, so if you don’t want to deal with iwctl commands use either one of these
- Run the archinstall script, by typing
archinstall
Archinstall setup
- Disk configuration: Use the usb as the target drive WARNING: INCORRECT DISK CONFIGURATION WILL WIPE YOUR HOST MACHINE
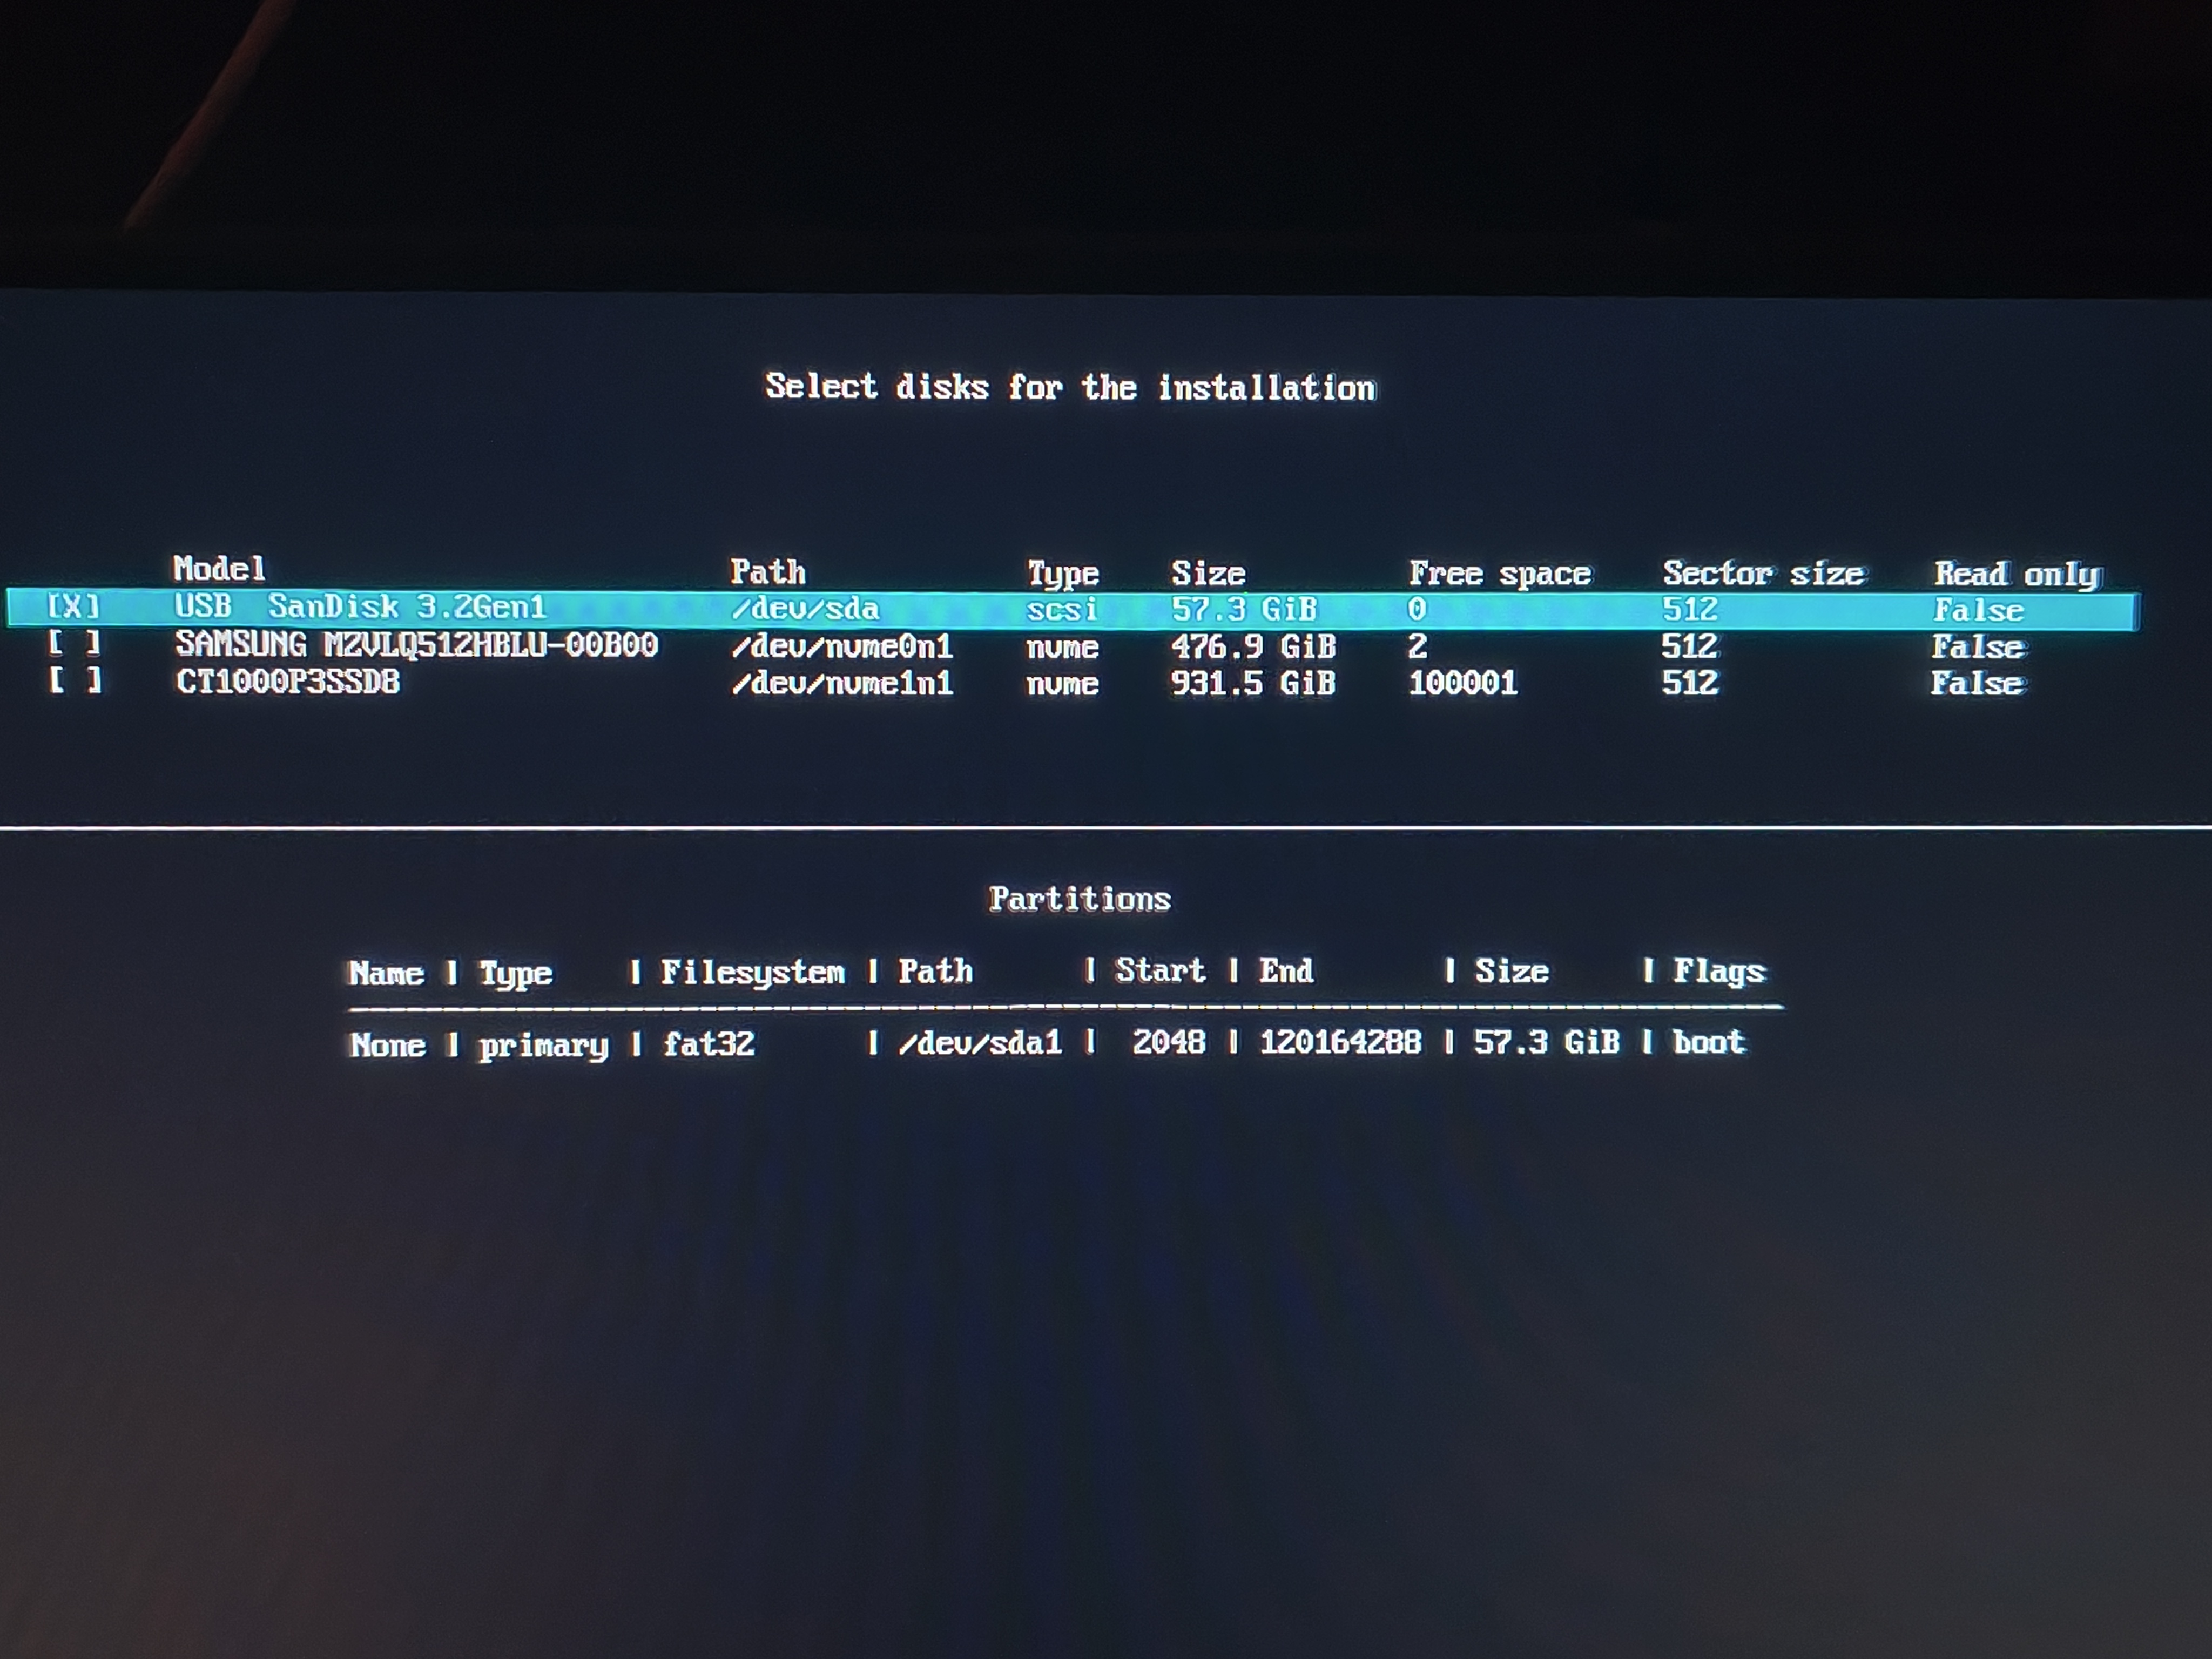
- Hostname: Set your device
- Disable swap - since we are using a USB disk, hit times and data transfer speed is already bottlenecked
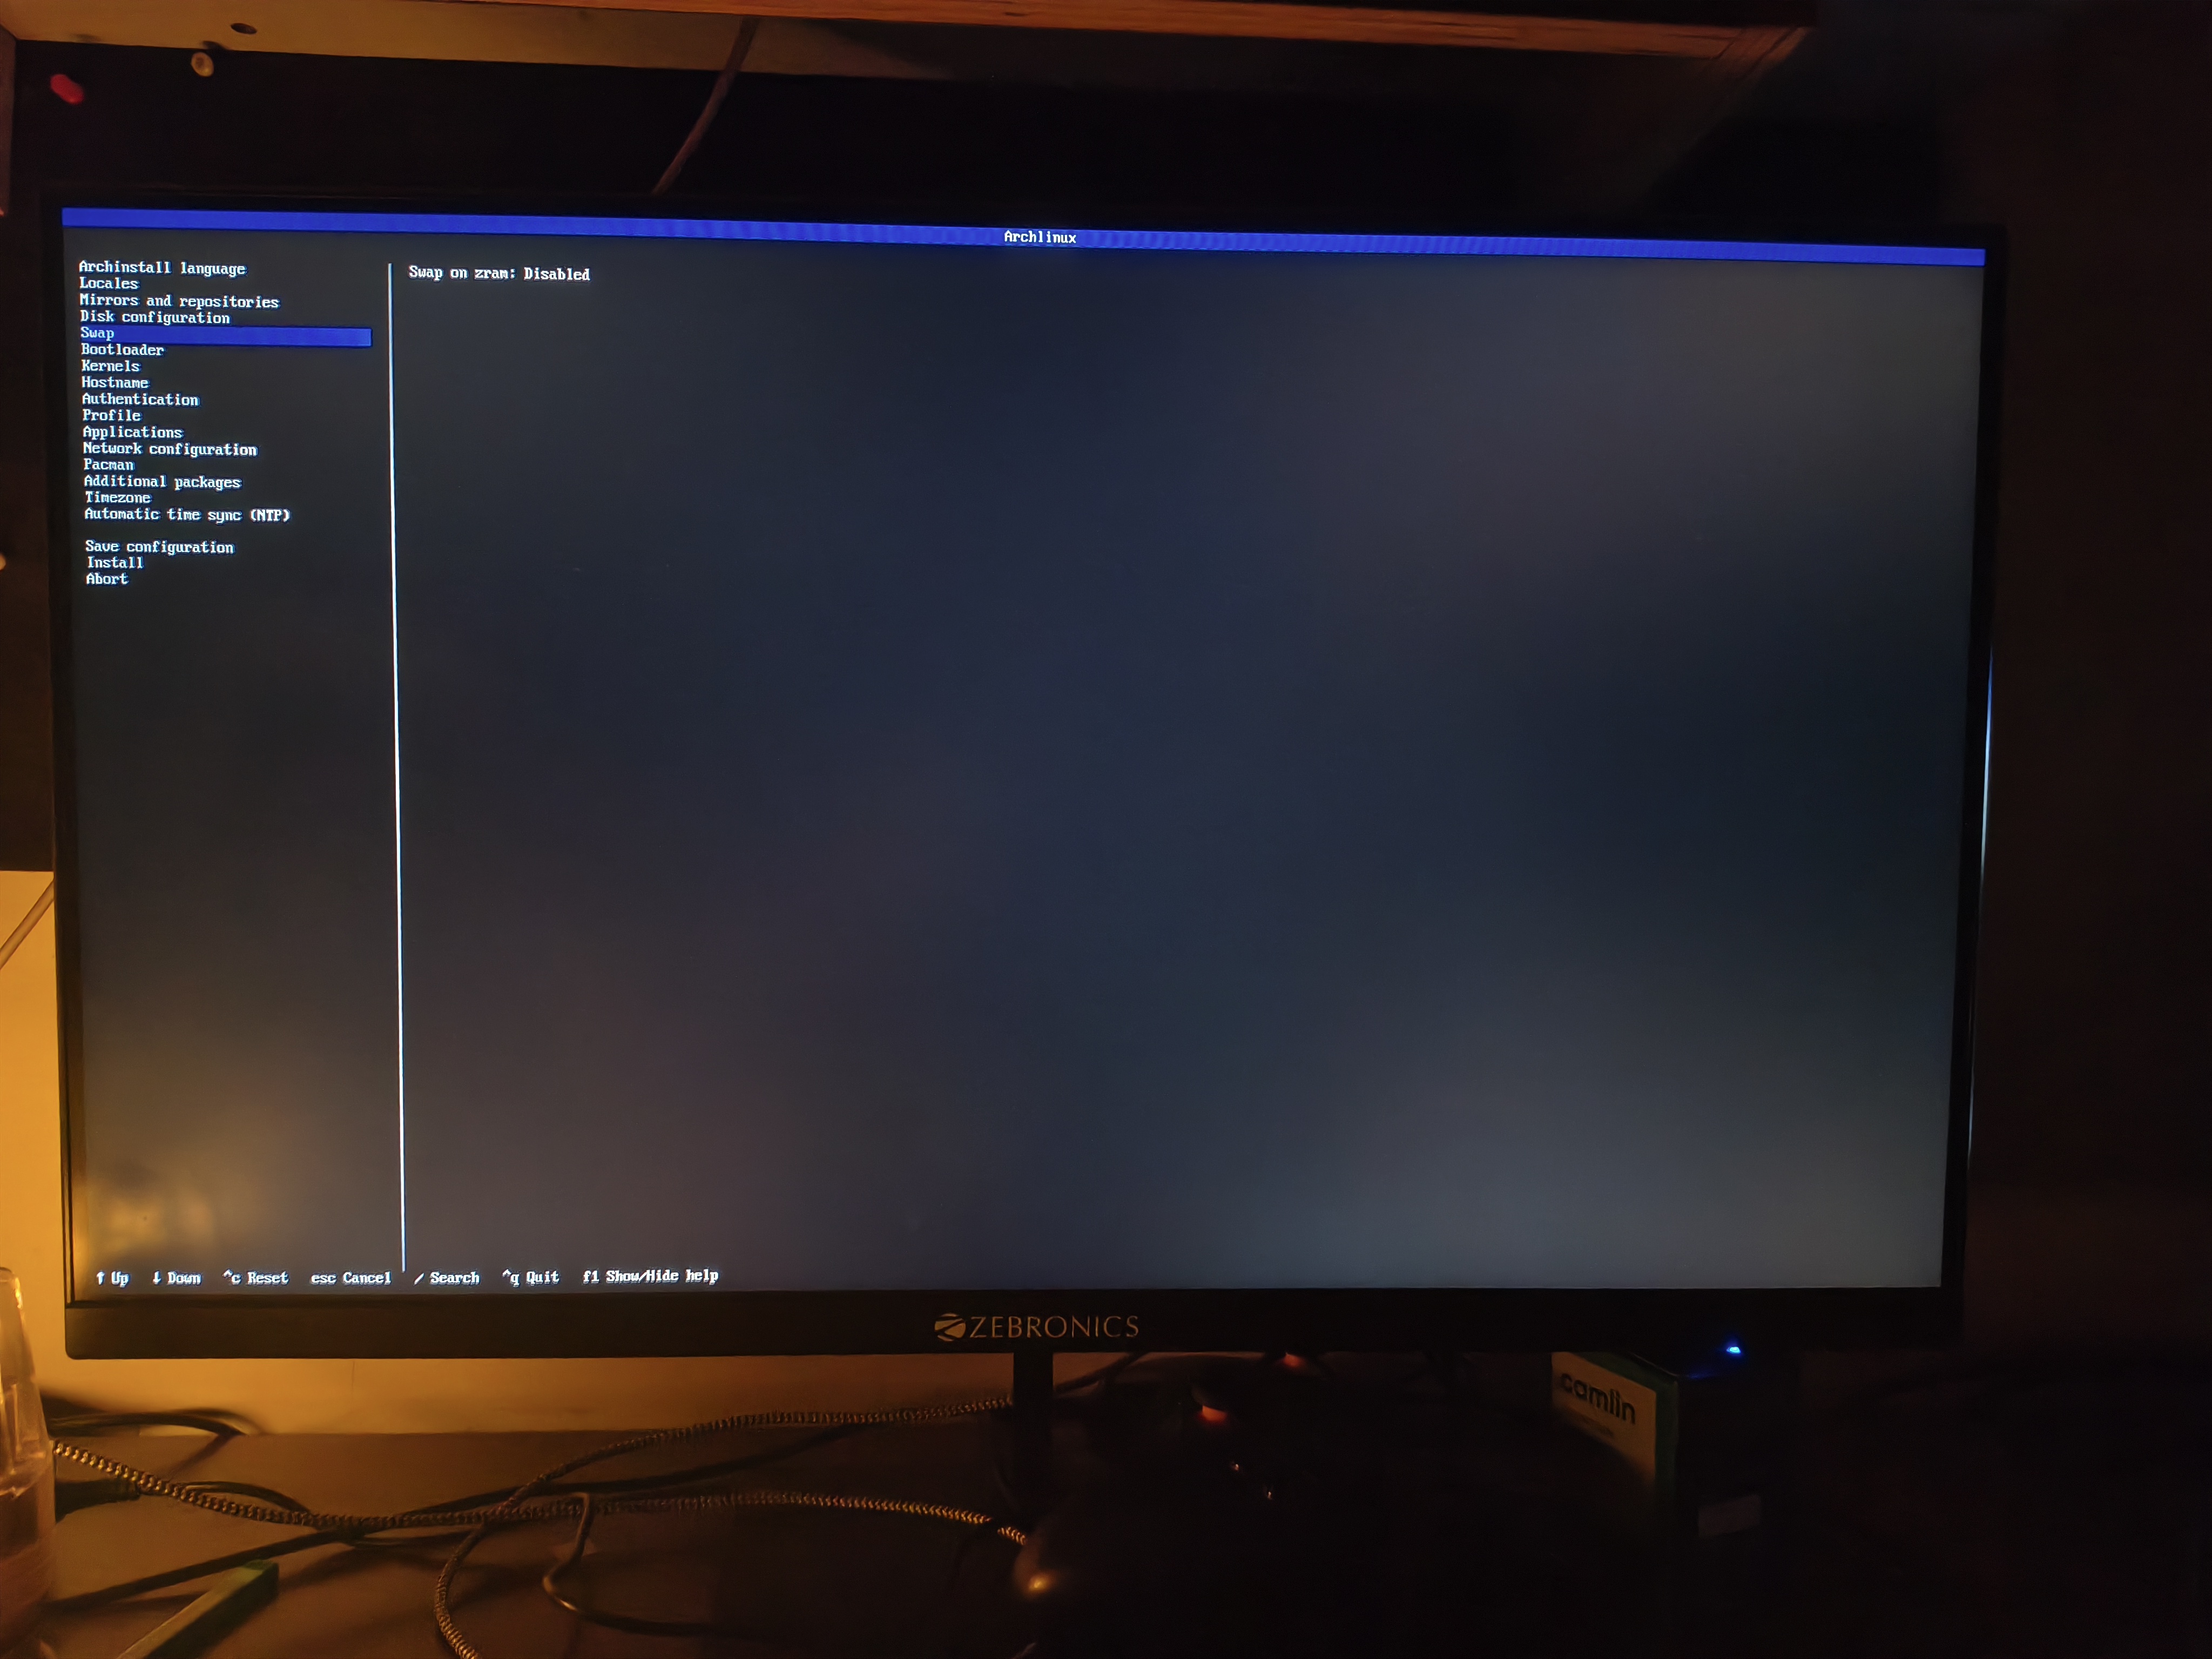
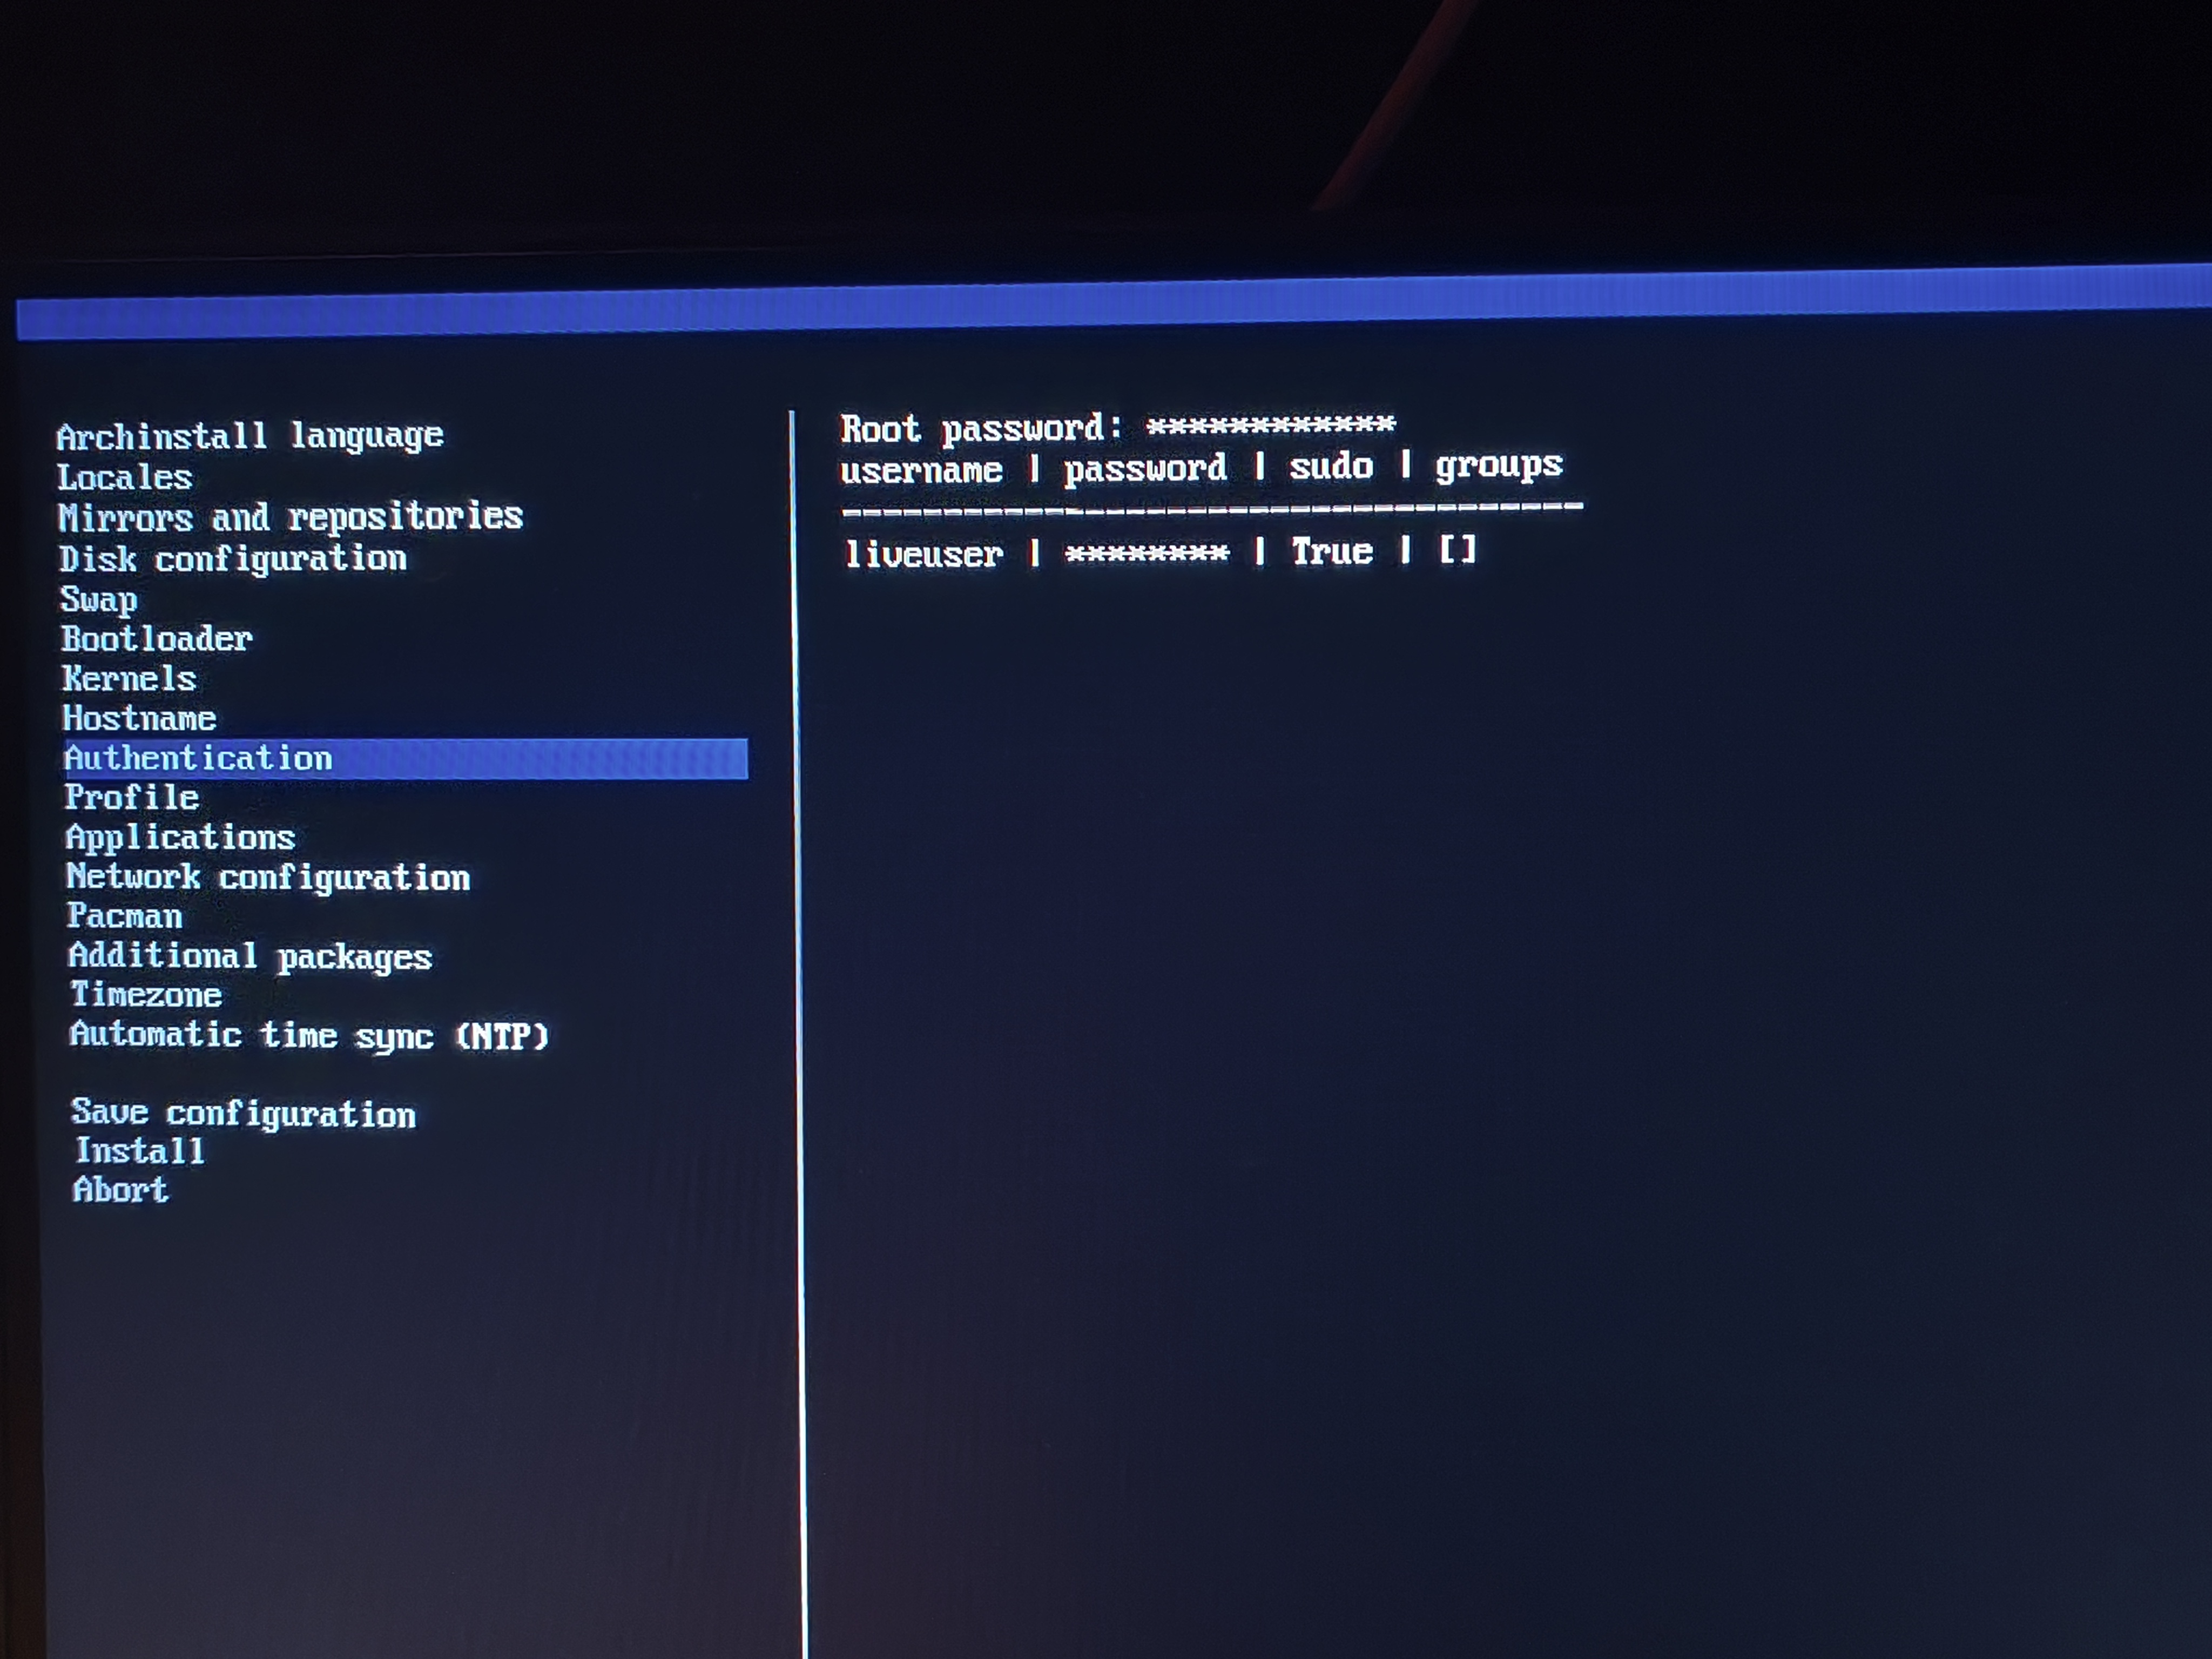
- Set up auth and password for host machine
- Set up user and password for a user and if you intend for using it also add it as a superuser
- Set up bootloader as grub, systemmd would work as well but may not be compatible with computers not having UEFI
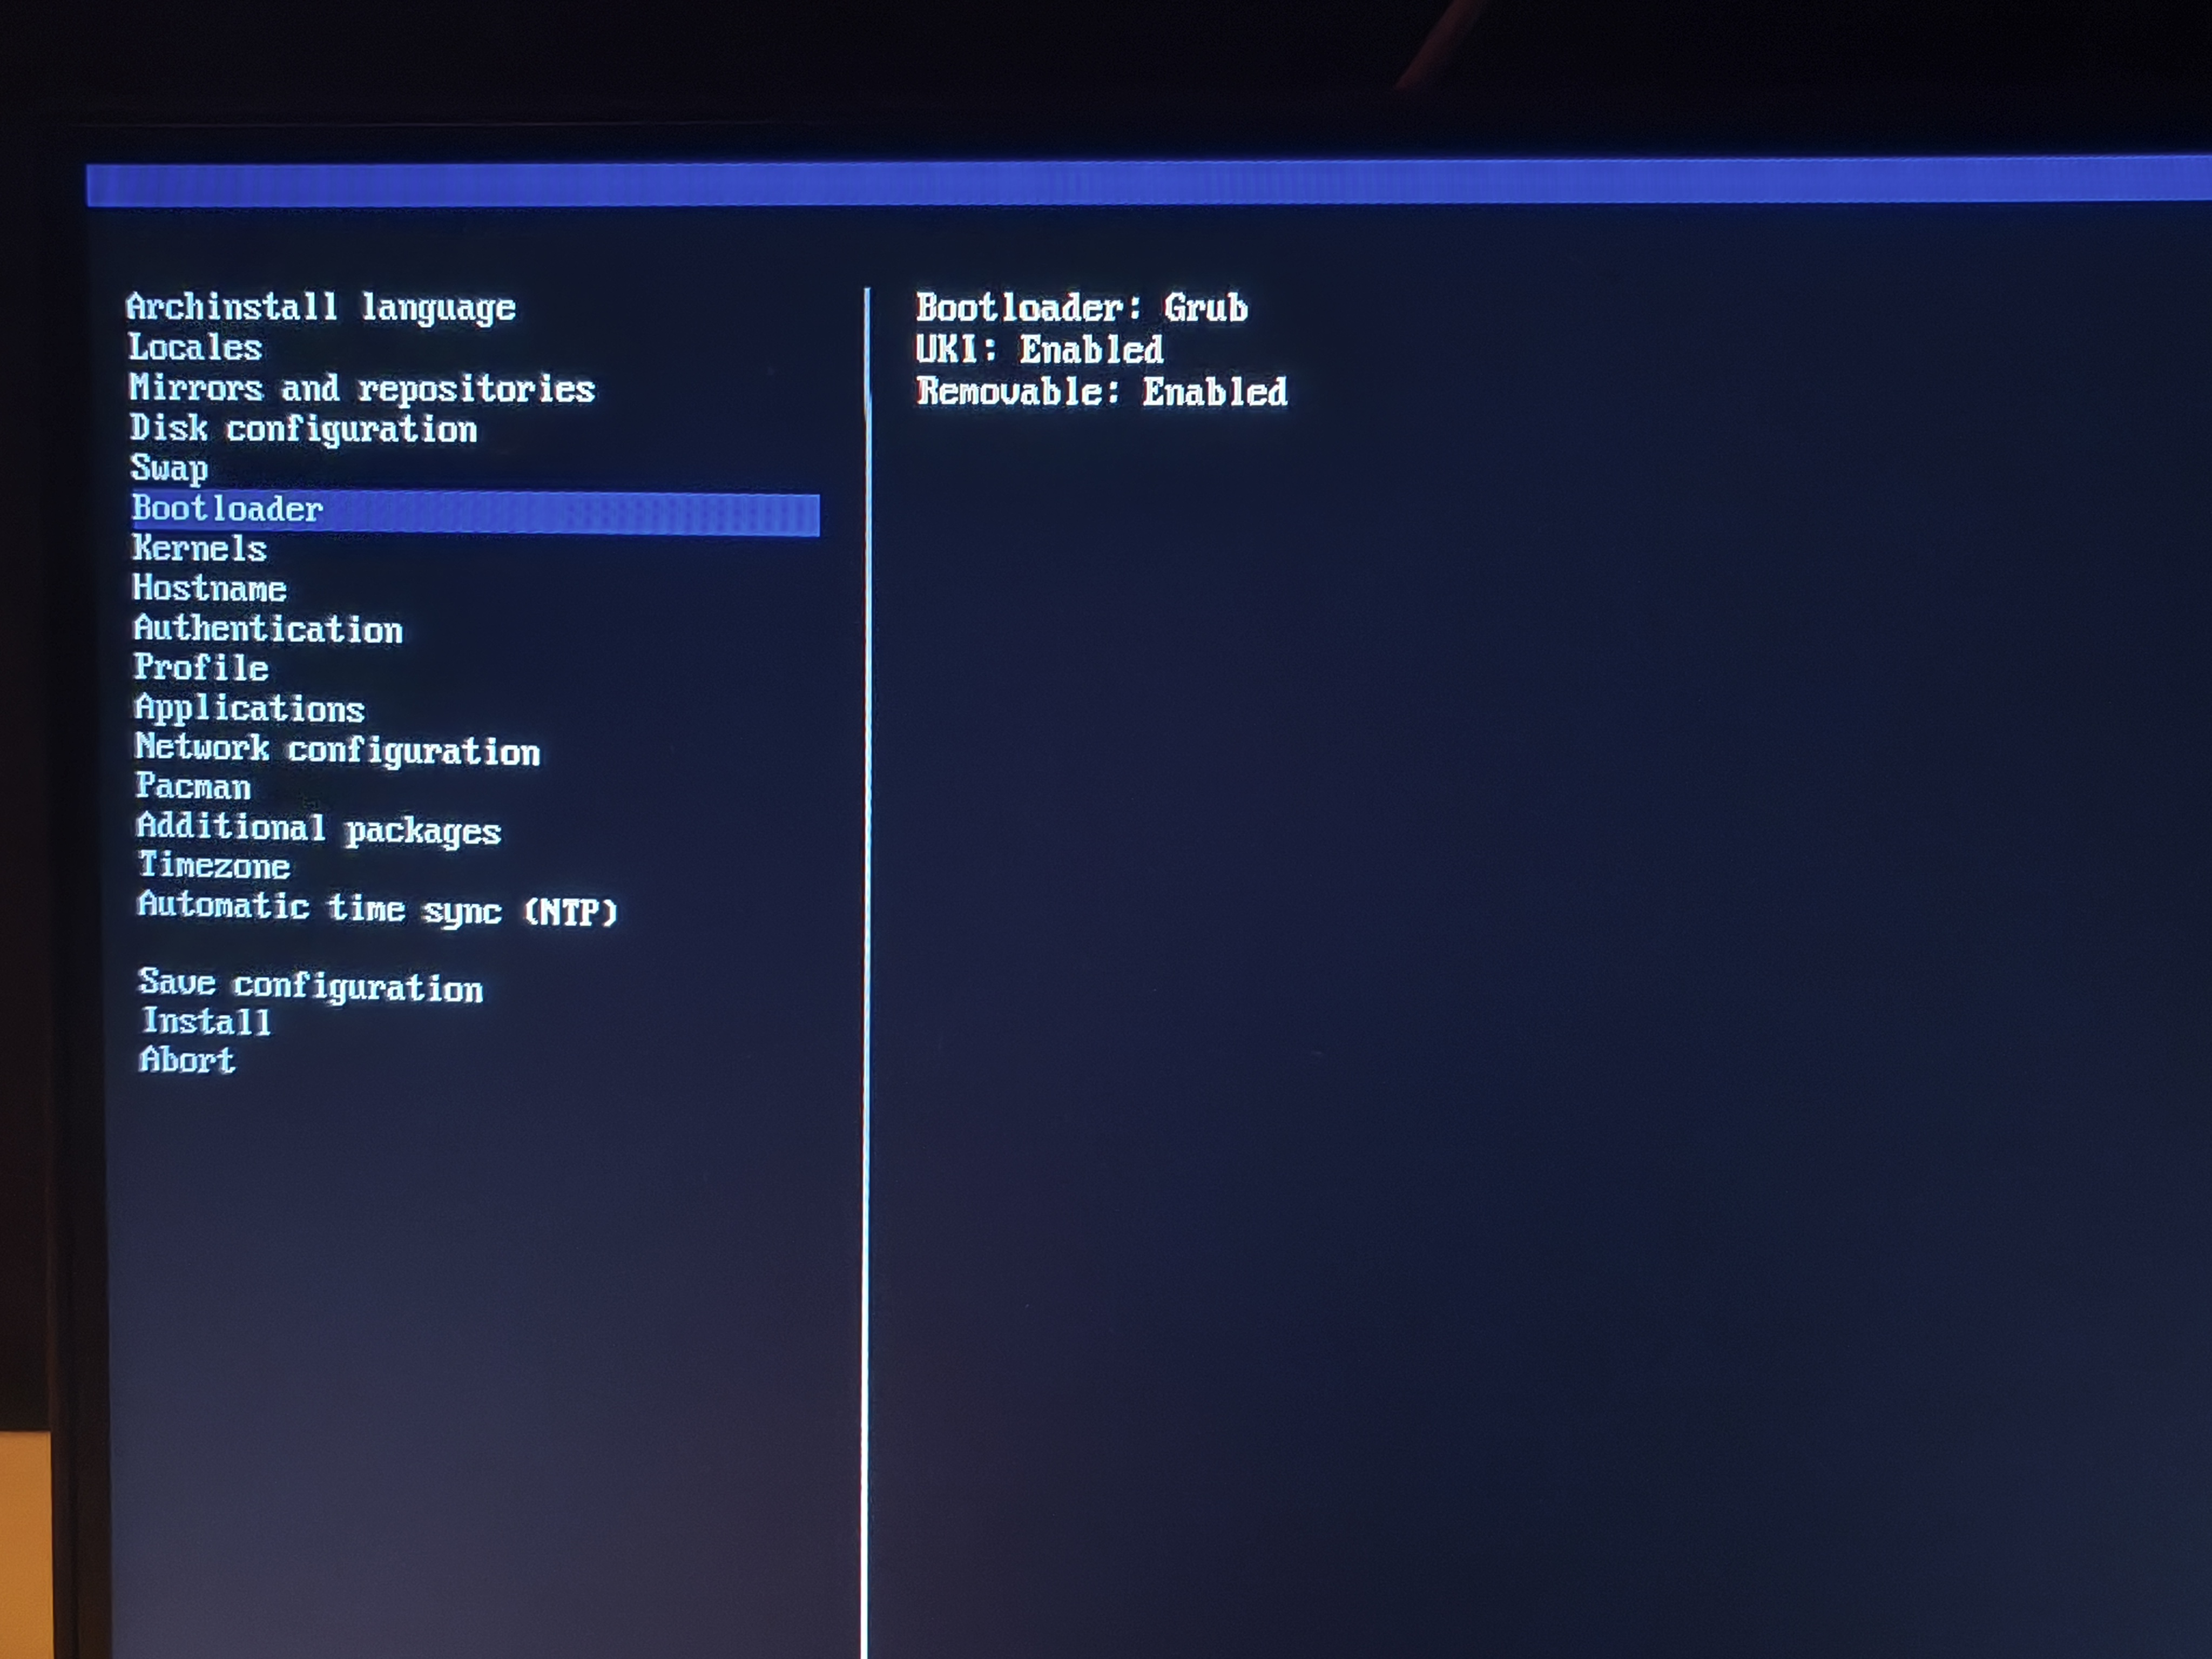
- Set up applications
- Enable bluetooth
- Set audio interface to pipewire
- Keep everything else as default if you are unsure
- Graphic drivers: For our setup we went with all open source
- Profile: Set it up as a desktop profile and for USB where we aim for least amount of resources used we can set profile as XFCE.
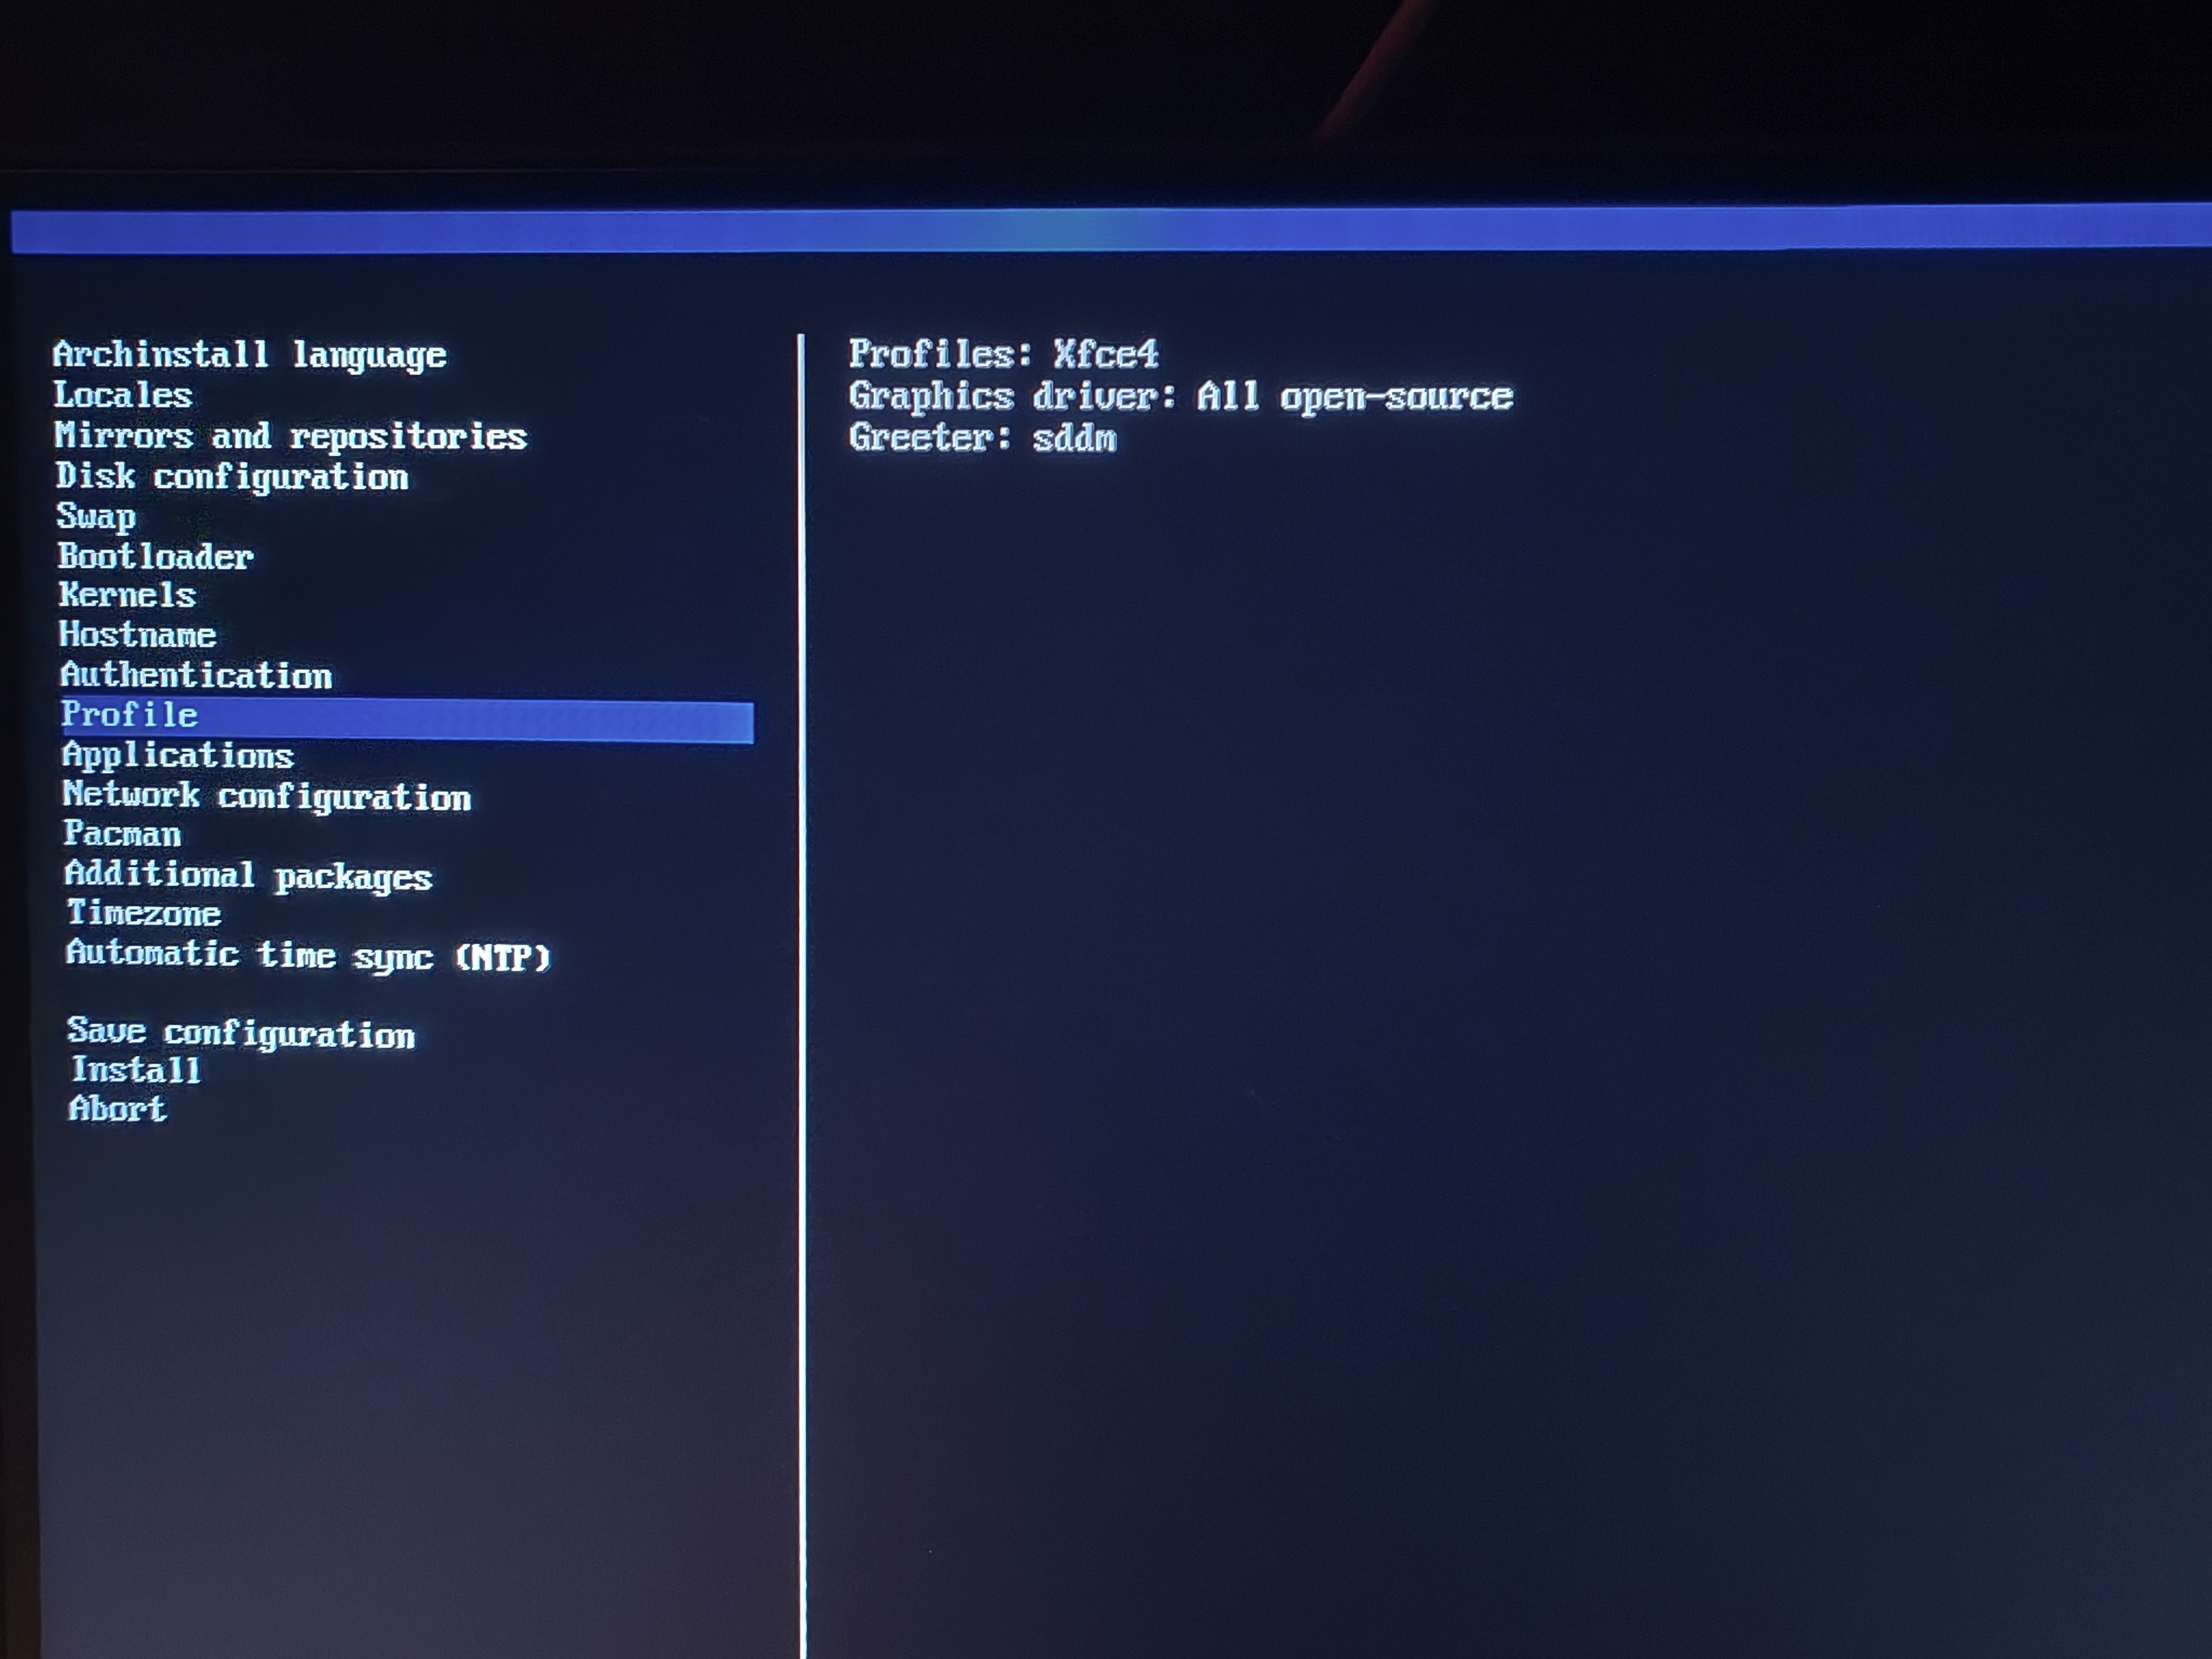
- Greeter: Any one is fine but we’ve used sddm
- Disable automatic time sync, if you are using windows
- In Network configuration set it up as set default backend to ensure that the setup targets maximum number of systems
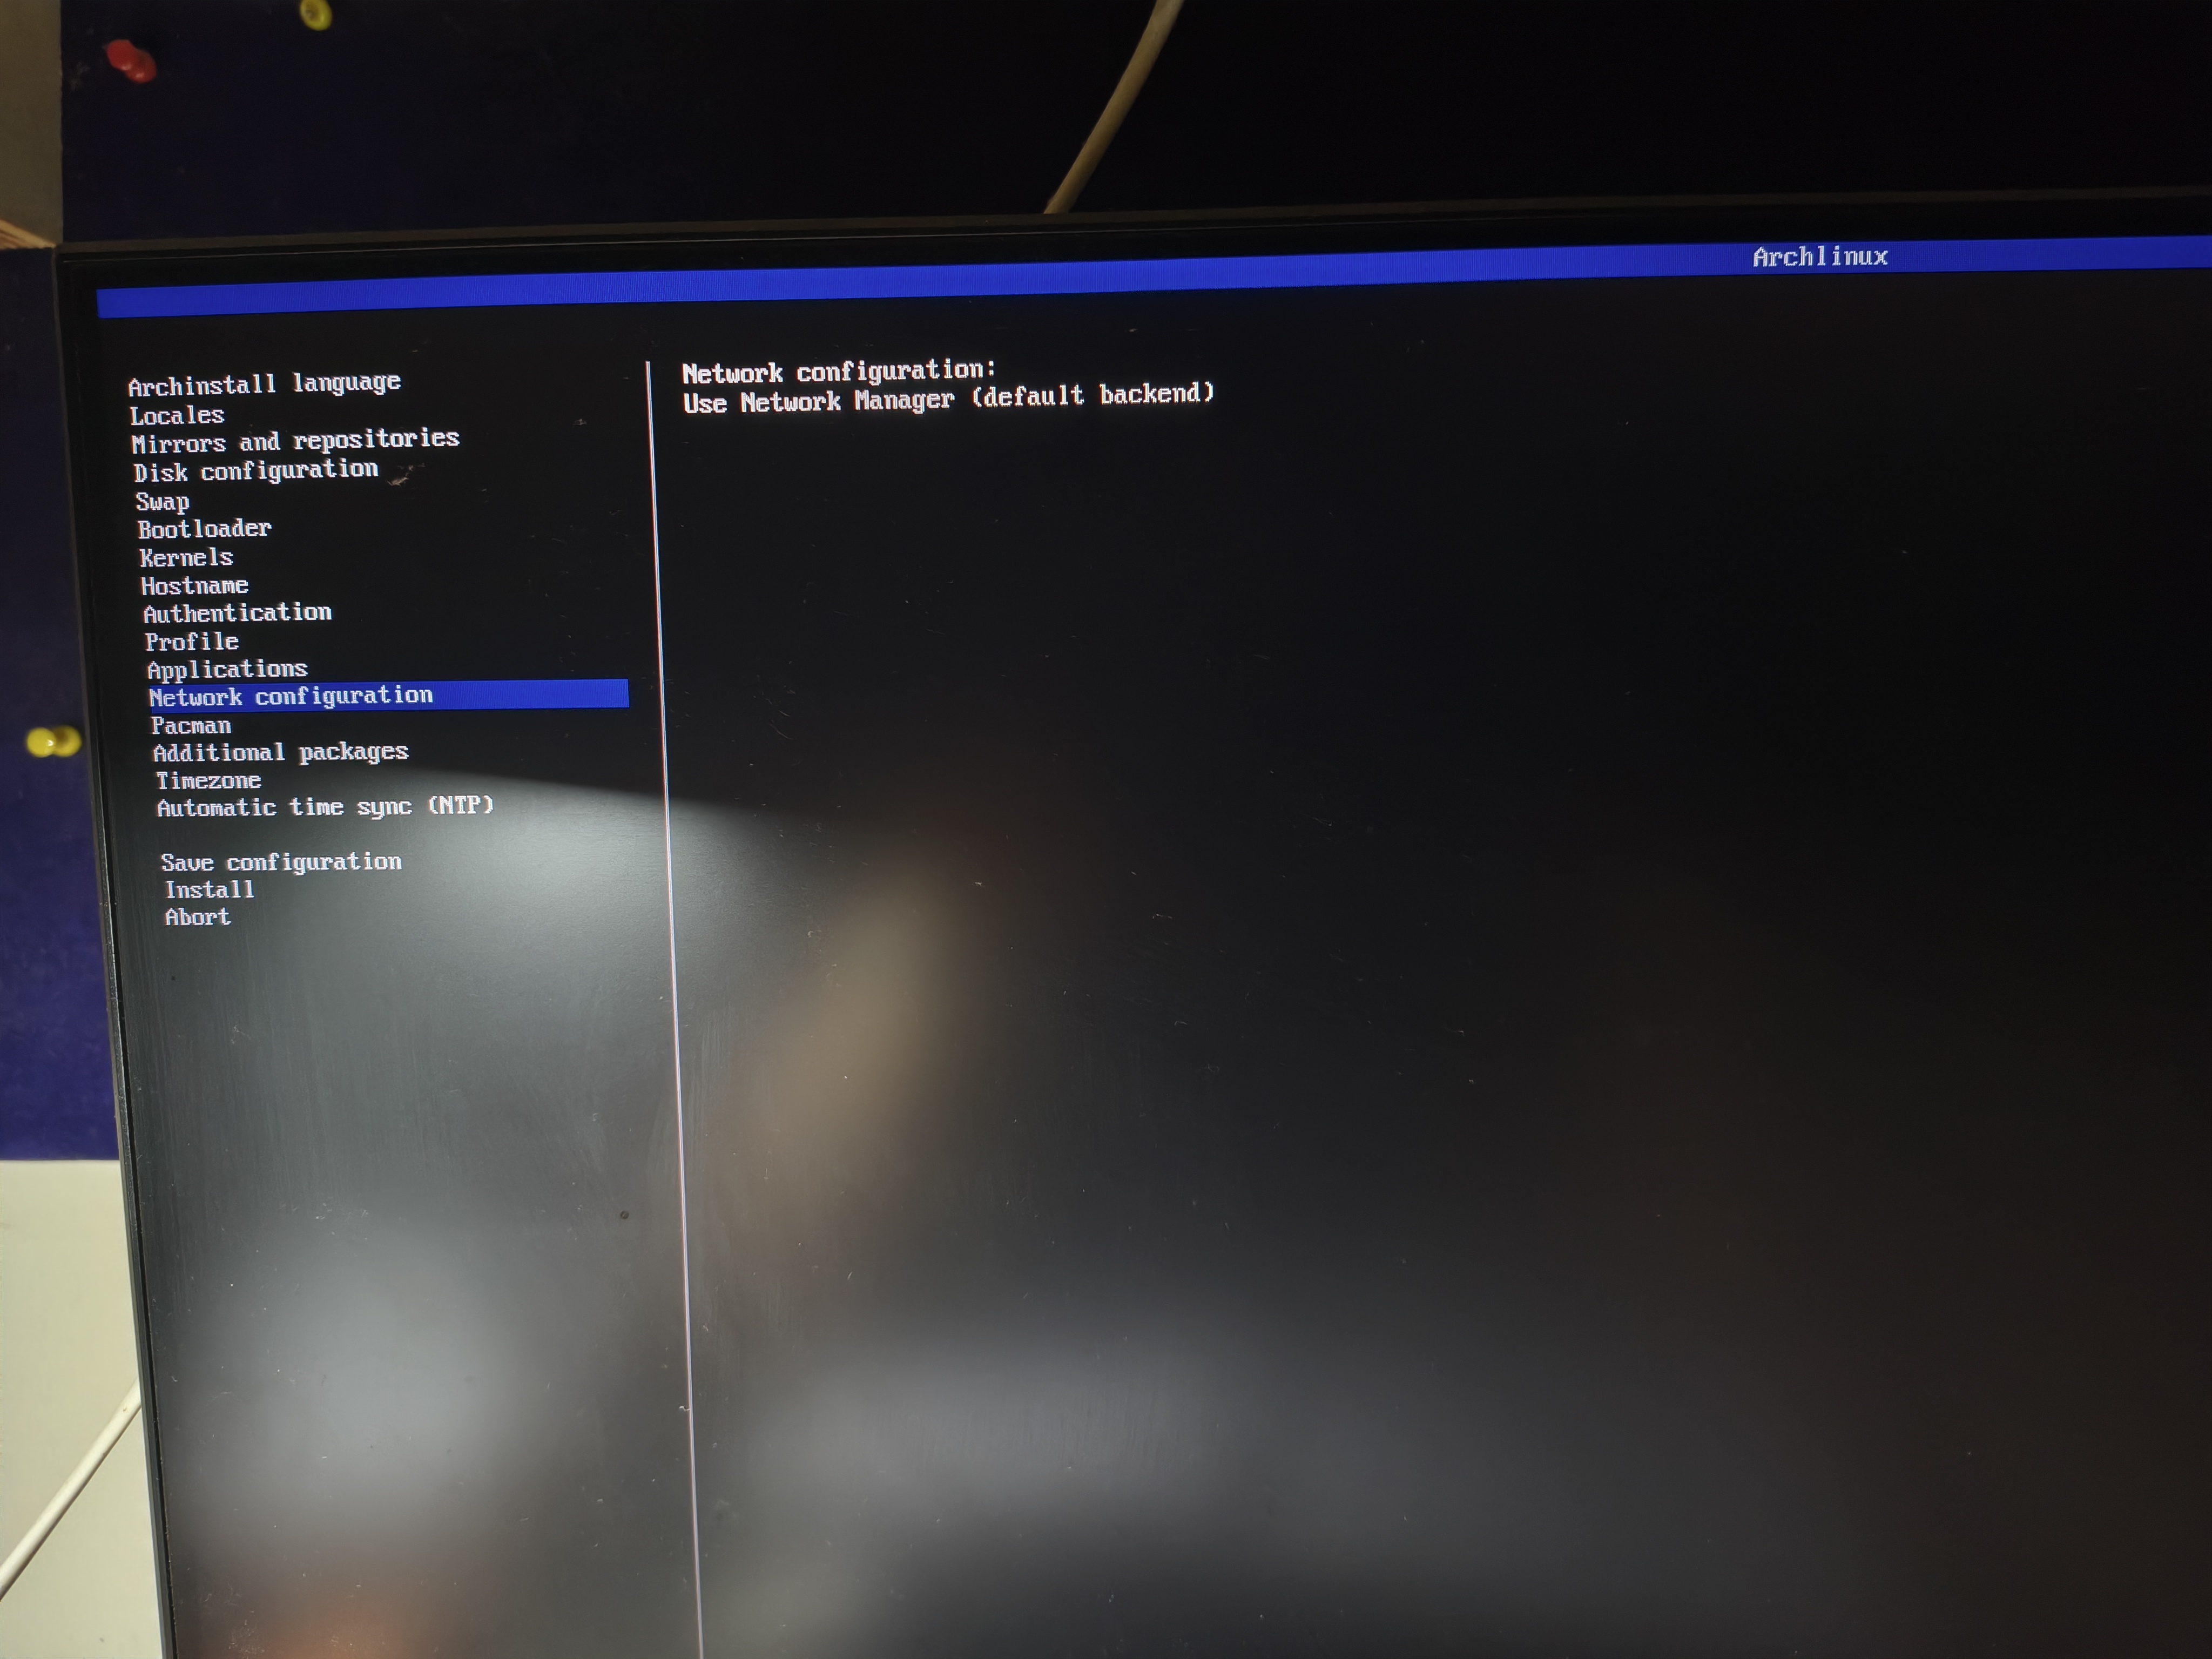
- After setup, confirm your settings and select install. Installation process may take around 30 minutes depending on your internet speed.
Post installation
Greeter setup
When the greeter asks you for username and password, check on the top left side, it should say XFCE (Wayland) or just XFCE. If it’s XFCE wayland, ensure it’s set back to XFCE. On some computers XFCE (Wayland) may result in no display outputs and your monitor may remain inactive with the above given configurations.
Important applications
With this minimal desktop installation of Arch + XFCE many applications will not work on your system so you can use the following commands with pacman to run it.
- System packages upgrade
| |
- Firefox - web browser
| |
- Git and vim (must haves)
| |
You can also set up AUR by clicking here
For ZSH setup click here